Created on by freyr
The ice-bondage bag is a nifty little gadget that makes using ice as a self-bondage release system a bit easier.
Materials
- 1 - 4.5" x 12" piece of sturdy fabric
- 2 - 1" welded steel D-Rings
- 1 - 1.5" welded steel ring
- 1 - 3" piece of 1/2" velcro
- 1 - 1" x 12" nylon webbing
- 1 - 1" x 18" nylon webbing

First, get all of your parts together.

Fold over 1" on each of the short sides of your fabric and sew them down.
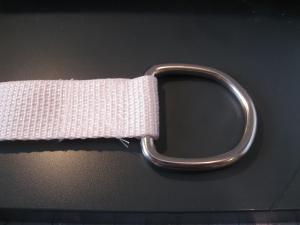
Sew one of the D-Rings securely to the 12" nylon strap.
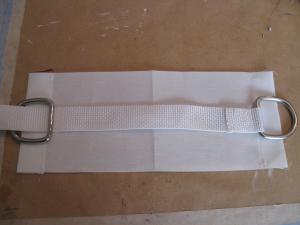
Lay out the strap so that the bottoms of the D-Rings line up with the seams you just made.
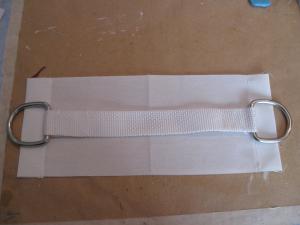
Attach the second D-Ring.

Sew the Velcro strips to the "inside" of the fabric. The "loop" side of the Velcro should be on one end.

The "hook" side should be on the other. Make sure that it's centered over the folds.
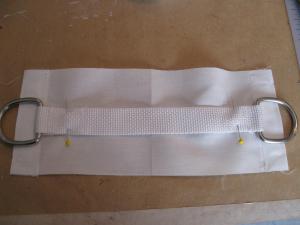
Pin the D-Ring strap to the "outside" of the fabric...
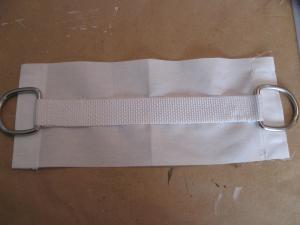
and sew it securely along it's length.

Fold the fabric in half (with the D-Ring strap on the inside) and pin it. Sew both edges.
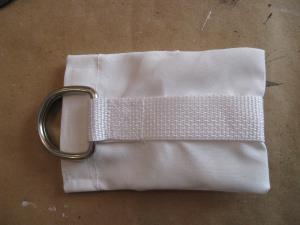
You should have something like this once you turn it right-side out.

Now on to the tie-down. First sew a 3" loop on one end of the 18" strap.
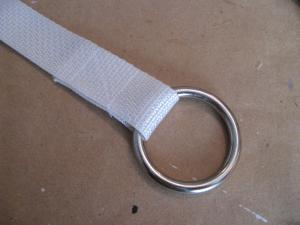
Sew the ring to the other end of the strap.
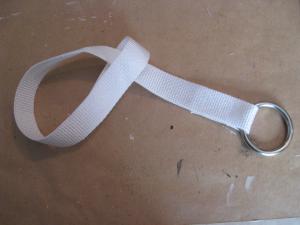
This is what you should end up with.
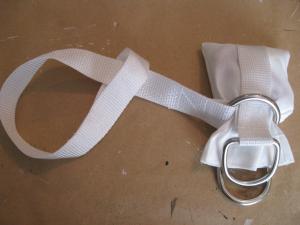
To use the ice-bondage bag, first loop the tie-down around something secure.
Next, push the bag through the ring. Now you can stuff the bag full of ice and close the Velcro.
You can't pull the bag through the ring until the ice melts.