A while back, I added a blog post about a custom metal butt plug that I had made. I received quite a few requests for a tutorial on how I made it.
This project requires a pretty specialized piece of equipment: a metal lathe. I purchased mine from Harbor Freight about 10 years ago. Grizzly also makes a slightly bigger one that looks even better.
A quick note of caution: Aluminum dust is nasty stuff. Make sure that you wear a dust mask at all stages of this project.
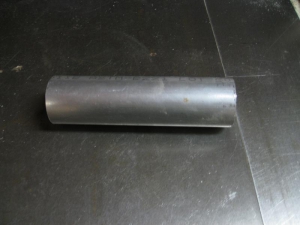
We'll start with a piece of 6061 aluminum that's 1-1/2" in diameter by 5-1/2" long. I purchase most of my stock from OnlineMetals.com. A 1 foot section should cost about $13 + shipping. I like using aluminum for this kind of project because it machines pretty easily and polishes up nicely. You could also try stainless steel, but it's going to be much harder to machine in the way that I'm going to describe.
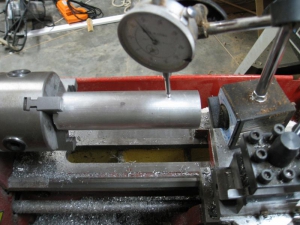
Mount the rod in the lathe and make sure that it's aligned properly. I use a runout gauge attached to a magnetic base. I like to keep the runout (wobble) on a project like this to .01" or better.
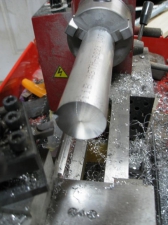
The first step is to machine the face of the rod so that it's perfectly flat and perpendicular to the length.
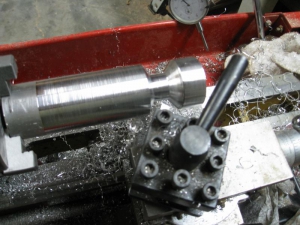
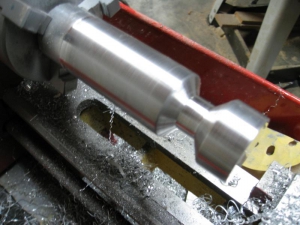
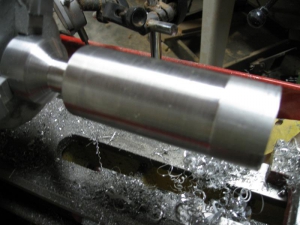
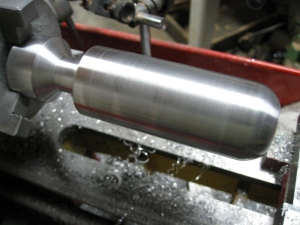
Next, take just enough off of the diameter of the rod to take care of any of the runout from when you mounted the rod. Then, with a V bit in the lathe, start forming the tapered "notch" at the base of the butt plug. The easiest way that I've found to do this (although probably not the most correct) it to engage the bit into the stock at one end of the "notch" to a depth of about .001" and run the bit to the other end of the "notch". Back the bit up just a bid, insert it in another .001" and run it back to the other end of the "notch".
Keep doing this until the diameter at the center of the notch is approximately 3/4" and about 1" in length. Notice that by using this method, you'll end up with a "notch" that has sides with the same angle as the "V" angle on your bit.
Next, turn the stock around in the lathe. This time you'll need to make sure that the runout is pretty much perfect. Of course, this time it should be much easier since you machined the face perfectly perpendicular to the edge in the first step. Machine the rest of the rod (that you couldn't reach because of the chuck) to the same diameter as the rest of the rod.
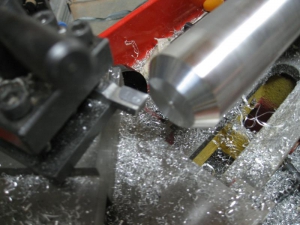
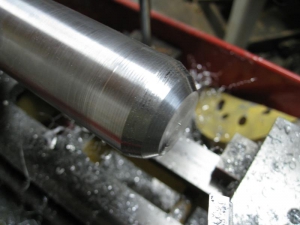
Adjust the bit angle to 22.5 degrees and taper the top half of the first taper. Then adjust the bit angle to 67.5 degrees and taper the bottom half of the first taper. This will give you a rough round-over on the end of the rod.
If you want, you can split the angles in half again and further refine the curve. I've found that the 4 22.5 degree sections are enough when I'm using aluminum. To complete the curve, move the tool rest out of the way and use a metal file to refine the curve by hand. By adjusting the angle and pressure of the file, you can achieve a reasonably smooth surface. Of course, you'll need to do a lot of polishing before it's smooth enough to be an "insertable".
Next, start the polishing process by turning up the lathe speed and removing any deep milling marks with 80-100 grit emery cloth. Just gently hold the cloth up to the stock while it's rotating on the lathe. Make sure to keep your fingers away from the chuck. This technique really isn't anywhere close to being safe, so if you choose to take this approach to polishing, be very, very careful. Keep doing this with progressively finer sandpaper grits until you reach 400 grit. Then with the piece still turning, apply some jeweler's rouge and buff it off with a paper towel. As a final step, to make it really shine, rub some polishing compound on the stock and polish it off with a clean cloth.
You'll be able to polish about 80% of the piece using this method. The rest of the piece (the part that was in the chuck) will need to be polished by hand. Use the same steps as before, but instead of using the lathe to turn the piece, you'll have to do all the work. It's easier than it sounds, though. The last bit only takes me around 10 minutes to do by hand.
Of course, a much better (safer) approach to polishing would be to use a polishing wheel, but since I don't have one, I do it this way...
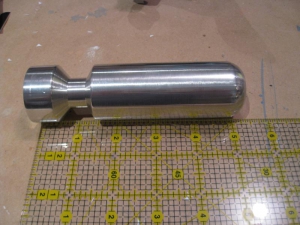
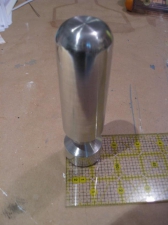
Here's the finished piece. You'll notice that this butt plug is quite a bit smaller that the one in the original blog post. If you feel like 1-1/2" is too small, feel free to scale it up... or down if you're feeling a bit timid :-)
