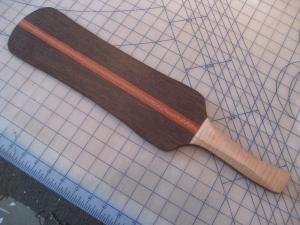
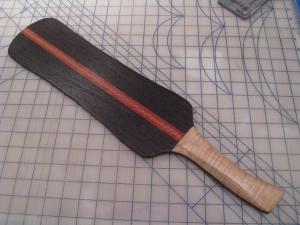
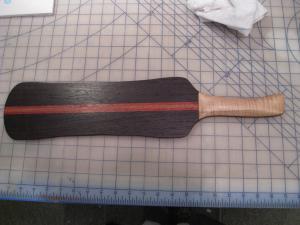
Today, we're going to make a paddle.
But, not just any old paddle.
We're going to make a work of art... a paddle nice enough for the Queen's bottom.
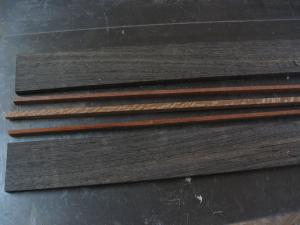
For this, you're going to need wood that has been milled to around 1/2" inch in thickness.
I've listed the woods that I used in the materials section below. I have access to some really awesome lumber yards, so I'm able to get my hands on a pretty wide variety of exotic woods. You don't have to use the expensive exotic woods to get a really nice paddle, though. The key is to use woods with good contrast. For example, instead of wenge, you could use walnut. Instead of padauk, use maple and use oak instead of lacewood.
Before we start, remember: safety, safety, safety!
Be sure that you know how to use your tools properly. Wear eye protection and especially if you're using exotic woods, wear a dust mask. It's really hard to use a paddle if you're blind or missing your fingers!
Now that that's been said, Let's get started!
- Wenge – 2" x 22" x 1/2" (2 pieces)
- Padauk – 1/4" x 22" x 1/2" (2 pieces)
- Lacewood – 3/16" x 22" x 1/2" (1 piece)
- Tiger Maple – 2 1/2" x 7" x 1/2" (2 pieces for the handles)
- A table saw or some sort of hand saw to cut your wood to size
- A band saw or scroll saw to cut out the basic shape of the paddle
- A planer or hand plane for bringing the paddle blank to it’s final thickness
- Wood shaping tools – rasps, files, chisels, etc.
- A bench-top sanding station. This is optional, but I use it instead of rasps and files for most of my shaping.
- Lots of sandpaper in several different grits
- Wipe-on polyurethane
First, mill all of the pieces to approximately 1/2" in thickness. It's not important to be exact at this point since everything will be planed to a uniform thickness once the paddle blank has been glued up.
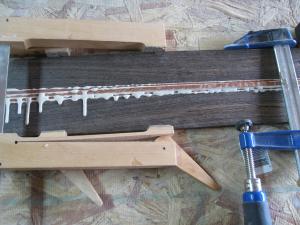
Glue all of the pieces together and clamp tightly. Wait at least one hour for the glue to set.
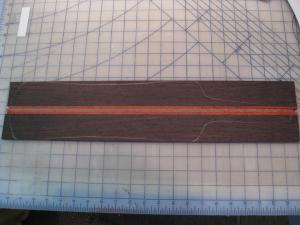
After the glue has dried, remove any excess with a paint scraper. Run the glued up paddle blank through a surface planer (or use a hand plane) to flatten everything and bring it to the final 3/8" thickness.
Draw the paddle design on the finished blank. Cut around the design with a band or coping saw staying 1/16" from the outside of the line.
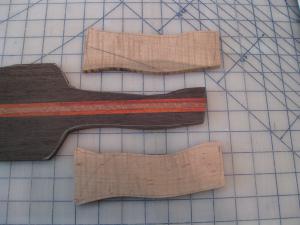
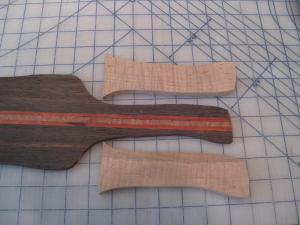
Cut rough blanks for both sides of the paddle handle. They don't need to be super exact at this point since you will shape them to match the shape of the paddle in the next step.
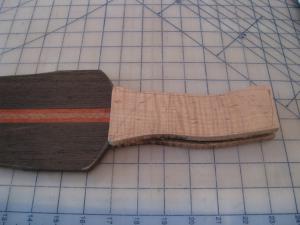
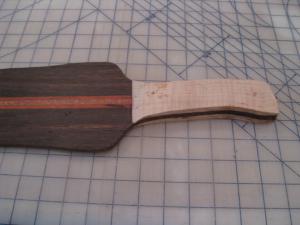
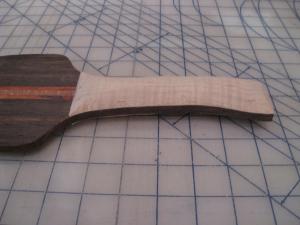
Using double-sided carpet tape, temporarily attach the handle blanks to the roughly shaped paddle. Note that while everything is pretty rough at this point, I am being careful to make sure that the points where the handle blanks meet the paddle body are even on both sides and square to the center line of the paddle blank.
Using whatever tools you need (rasps, files, chisels, sanders, etc.), carefully remove wood until the paddle is at it's final shape. I do most of this with a bench-top sanding station. Once the shaping is complete, remove the handle blanks.
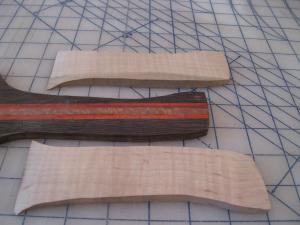
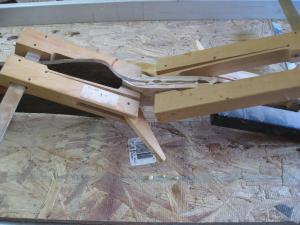
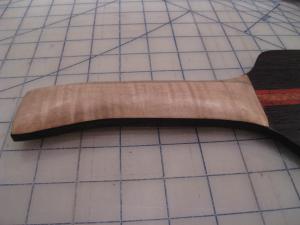
Using the same tools as before, taper the top of both handle blanks so that there will be a smooth transition from the handle to the paddle. This is much easier to do now than after the handle has been glued to the paddle.
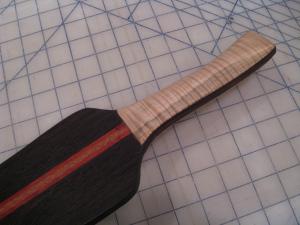
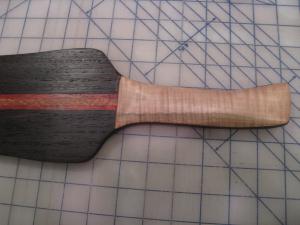
Do the final shaping on the handle so that it blends nicely with the paddle body. Again, I do most of this with my bench-top sanding station.
Starting with 120 grit sandpaper, sand the entire paddle to remove any remaining milling marks. Follow up with 150, 180, and 220 grit sandpaper. To finish prepping for the finish, I like to give the entire piece a good rubdown with 0000 steel wool.
As a final step, I apply several coats of a wipe on polyurethane rubbing the paddle down with 0000 steel wool between coats. I like this finish because it's very easy to apply and is equally easy to repair. If the finish is ever worn away or scratched, you can give the paddle a light sanding and apply a couple of fresh coats of polyurethane. It will look brand new.
