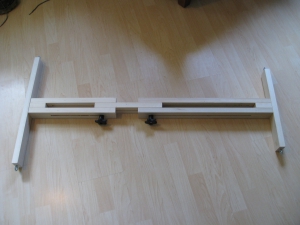
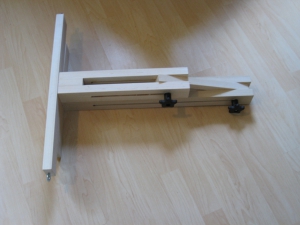
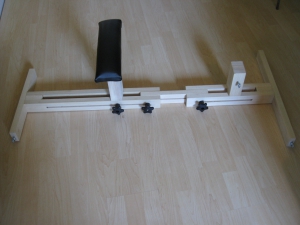
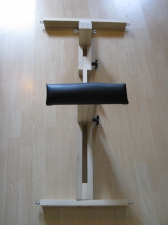
You asked for some bondage furniture projects, so here is the first in a series. This one is actually a three-parter... In the first tutorial, we'll build an adjustable pony stock. The sub's arms are secured with wrist cuffs at one and and ankle cuffs at the other end.
In the next tutorial, we'll make some accessories like a stomach rest and a head-rest/tie-down. In the third, we'll make some gadgets to go along with the stock.
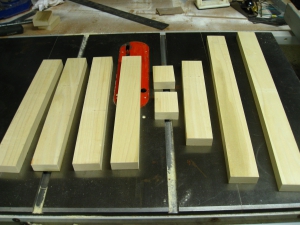
- 2 - 1" x 2-1/2" x 24" - Long Post
- 2 - 1" x 2-1/2" x 16" - Short Post
- 1 - 1" x 2-1/2" x 12" - Middle Post
- 4 - 1" x 2-1/2" x 3" - Post Spacers
- 1 - 1" x 2-1/2" x 22" - Long Rail
- 1 - 1" x 2-1/2" x 16" - Short Rail
- 2 - 4" x 1/4" - Carriage Bolts
- 2 - 1/4" 5-Star Job Knobs
- 4 - 1/4" Threaded Inserts
- 4 - 1/4" Knock-down Furniture Bolts
- Table saw (or some other method for cutting the wood to size
- Router with 1/4" straight cutting bit
- Drill press or hand drill with assorted drill bits (including 1/4" forstner bit)
- Wood Rasp (optional)
- 120 - 220 grit sandpapers
- Wood Glue
- Clamps
First, cut all of the pieces to size. I used 5/4 poplar. 5/4 means that the rough cut thickness is 5/4" or 1-1/4" thick. Since the process of planing the board smooth generally removes about 1/4" of material, the finished thickness is about 1".
If you don't have access to 5/4 poplar (or whatever species wood you would like to use), then feel free to use the 1x lumber available at the hardware store. Just keep in mind that the 1x lumber is actually 3/4" thick, so you may need to adjust some of your measurements.
Adjustable Posts
The first step is to create the adjustable posts that run down the center of the stock. You'll need to mill four boards: two that are 16" long and two that are 24" long. These will be combined with the spacer blocks to form two posts.
The two end sections of the posts have slots that allow the overall length of the stock to be adjusted as well as provide attachment points for stomach and head rests.
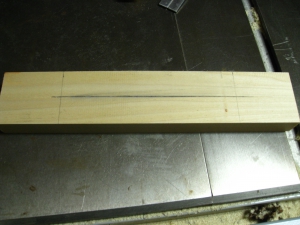
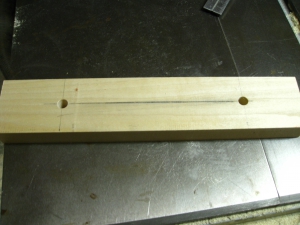
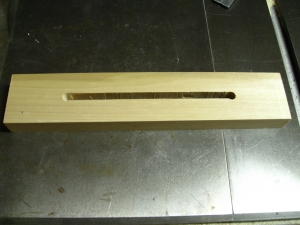
We'll start creating the slots by first laying out the center line. Place a mark on the center line 4 inches from one and and 2 inches from the other. These marks represent the end points of the slot.
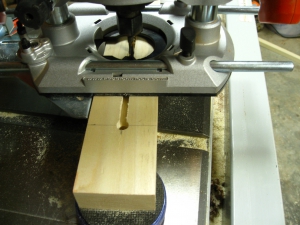
Using a router with a 1/4" straight cutting bit and a fence (or a router table), route a slot between the two holes.
You should adjust the fence so that the router bit is 1/32" off center so that it lines up with the edge of the 5/16" holes that you drilled. Set the router bit depth to about 1/4" and make the first pass from the left side of the board. Make a second pass with the fence on the other side of the board. This will make sure that the slot is centered in the post.
Keep making passes, lowering the router bit 1/4" for each pass, until you have routed a slot completely through the post.
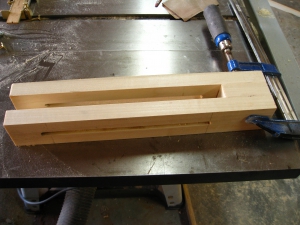
Glue and clamp two post boards and a spacer block together as shown.
Note that the spacer block is glued on the end where the slot is 4 inches from the edge.
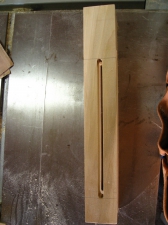
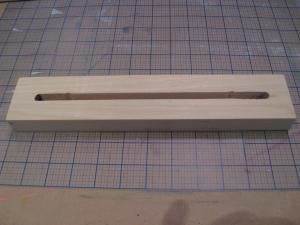
Perform the same steps to cut the slot in the single 12" center post. This slot should extend to 1" from each end of the post.
Horizontal Rails
Next, we'll make the rails. These are attached to the ends of the slotted posts and contain the attachment points for hands and feet.
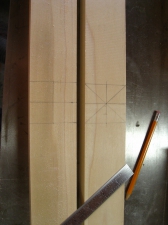
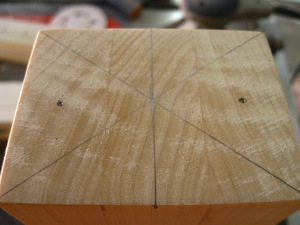
Begin by marking horizontal and vertical lines at the center of the rail. Then create two horizontal lines each 1" from the center of the rail. Draw diagonal lines from each corner. This will mark the exact center of the rail. Draw a horizontal line from this point through the two outside lines. You should end up with something like what's shown in the photo.
The purpose of this is to get the points for drilling two 1/4" holes that are centered on the board horizontally and each 1" from the center of the board vertically.
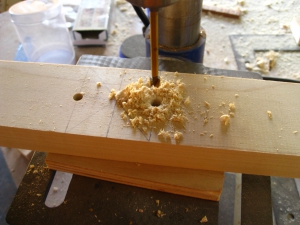
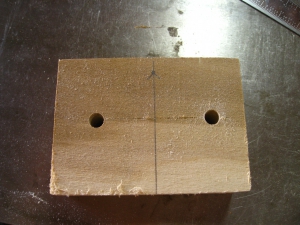
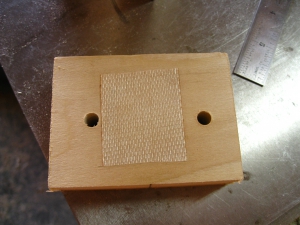
Using the holes you just drilled as a guide, drill two more holes in a small piece of wood. This will serve as a template for drilling matching holes in the end of the posts.
Be sure to mark the center line on the template. You'll use this to line the holes up with the center line on the post ends.
Attach the Rails to the Posts
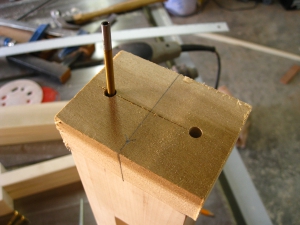
The next step is to drill the matching holes in the ends of the posts so that rails can be attached.
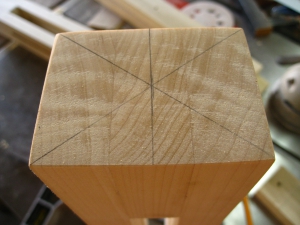
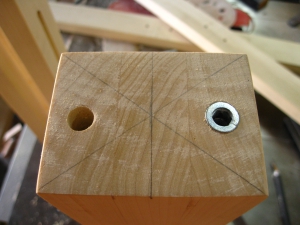
Draw diagonal lines from corner to corner on the end of the post. Use the point at which the lines intersect to draw your center line.
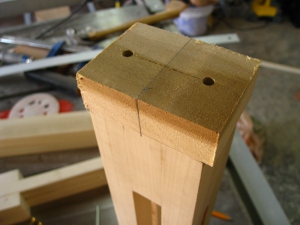
Attach the template to the post so that the center line on the template is aligned with the center line that you just drew on the post.
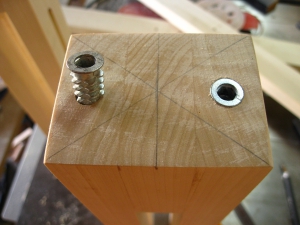
The holes should be centered on the end of the post.
Screw in the inserts using an allen wrench. Actually, you should probably follow the instructions on the particular brand that you are able to find...
Assemble the Pony Stock
Let's finish putting this together. Before continuing, you'll want to thoroughly sand all of the surfaces. I like to start with 120 grit sandpaper and work up to 220 grit.
Now is also the time to put on any finishes. Mine is finished with several coats of a clear satin wipe-on polyurethane. Painting is also a good option. Just follow the instructions that come with whatever finish you choose and make sure that it has thoroughly dried before continuing.
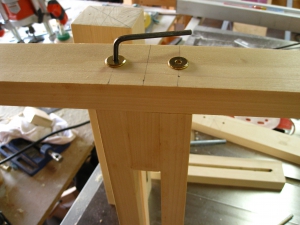
Attach the two end posts to the center post with 1/4" x 4" carriage bolts and 5-star jig knobs as shown in the photo.
