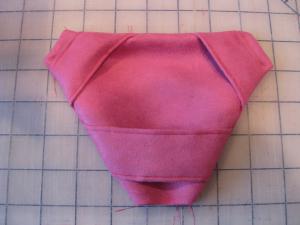
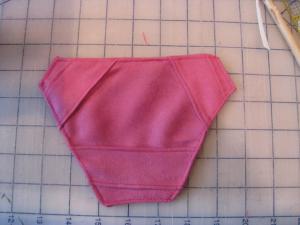
If you've looked at strap-on harnesses lately you know that they can be pretty pricey. A good one can cost upwards of one-hundred dollars and most of the cheap(er) ones aren't worth having.
So, I took it upon myself to design a harness that is attractive, secure, comfortable, and that's easy and inexpensive to make.
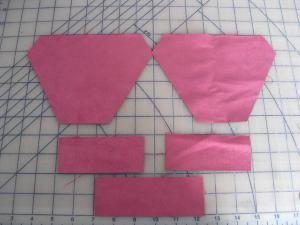
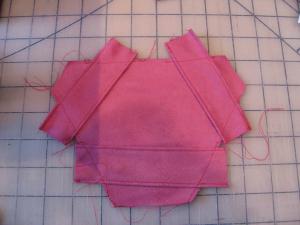
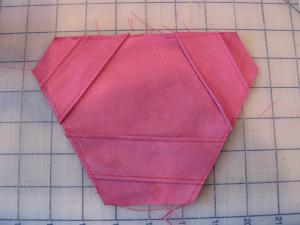
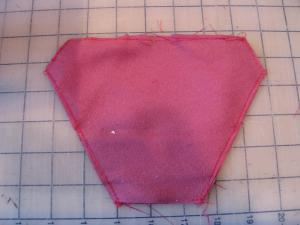
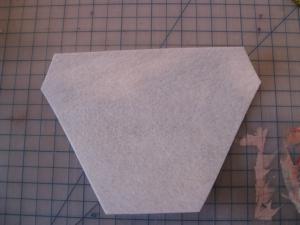
The first thing you'll need to do is cut out all of the parts.
You can download the full size pattern here.
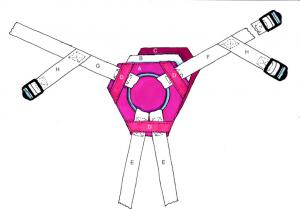
- A, C, and D should be made from a tough, stain-resistant fabric. I used ultra-suede, but garment leather is always a good choice.
- B: Thick interfacing. Cut this piece the same as "A" and then trim 3/8" from each edge.
- E (2 pieces): 1" nylon webbing. To find the length measure the distance from the middle of your crotch, around your buttock, to your hip bone and multiply that number by 1.5. I made mine 24" long.
- F: 1" nylon webbing. The length should be half your waist circumference (measure at the hip) plus 4". For a 32" waist, this piece should be 20" (32 / 2 = 16 + 4 = 20).
- G: 1" nylon webbing. Multiply you waist circumference (measured at the hip) by .75. For a 32" waist the size is 24" (32 X .75 = 24).
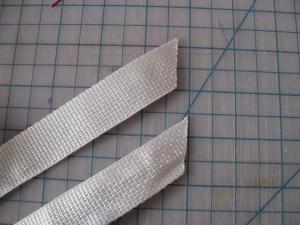
- H (2 pieces): 1" nylon webbing, 8" long. Cut a 30 degree angle on one end of each piece.
Following the pattern, cut out pieces A, C, and D from your fabric of choice. I used my favorite: pink ultra-suede!
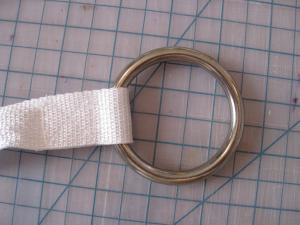
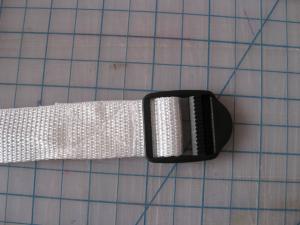
Sew one of the strap adjusters to the end of strap F.
Make sure you have the strap adjuster facing out. It's really annoying to have to pick out all of the stitches because the adjuster is facing the wrong direction. Trust me, I know.
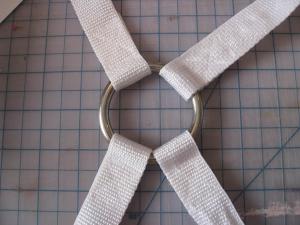
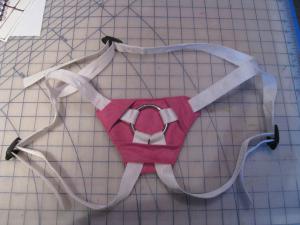
The next step is to sew straps H to straps F and G.
Start by cutting approximately a 30 degree angle on one end of each of the H pieces. You'll want to sew them to F and G so that they are pointed down and away from the ring. I sewed my about 6" from the ring, but you may want to play around with the placement so that you get the most comfortable fit.
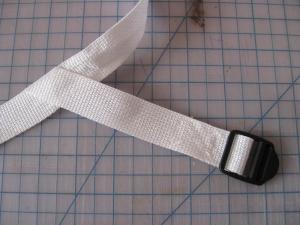
Attach the two remaining strap adjusters to the ends of the two straps (H).
Again, make sure they're facing the right direction.
