In the previous tutorial, I used several star knobs that I picked up from Rockler.
If you don't have a local store or are not interested in buying the knobs online, you can certainly make you own.
We'll also make head and stomach posts with tie-downs and do a little upholstery.
- 1 - 1" x 2-1/4" x 3/4" hardwood (I used mahogany)
- 2 – 2-1/2" x 1" x 12" poplar
- 1 – 2-1/2" x 1" x 14-1/2" poplar
- 2 – 2-1/2" x 1" x 6" poplar
- 1 – 2-1/2" x 1" x 8-1/2" poplar
- 1 – 4" x 3/4" x 12" plywood for the padded rest
- 1 - 1/4" stainless steel nut
- 2 - 1-1/2" stainless steel wood screws
- 1 - 12" x 20" vinyl or leather
- 1 - 3" x 4" x 12" upholstery foam
- Quick-drying two-part epoxy
- Spray Adhesive
- Double-sided tape
- Table saw (or some other method for cutting the wood to size
- Drill press or hand drill with assorted drill bits (including 1/2" forstner bit and 5/16" and 1/16" drill bits)
- 1/4" chisel
- stapler and staples
- Wood Rasp (optional)
- 120 - 220 grit sandpapers
- Wood Glue
- Clamps
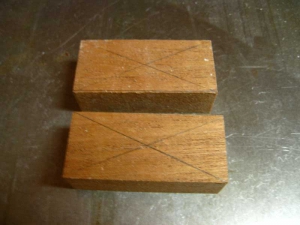
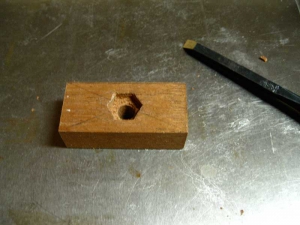
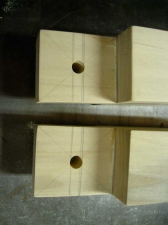
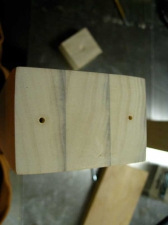
First, draw diagonal lines from corner to corner to find the center of the hardwood block. Next, drill a 1/2" diameter hole, 3/16" deep in the center of the block. This hole is where the nut will be embedded. Then, drill a 5/16" hole the rest of the way through the block.
Use the chisel to create flat edges along the side of the 1/2" hole so that the nut will fit inside.
Like this...
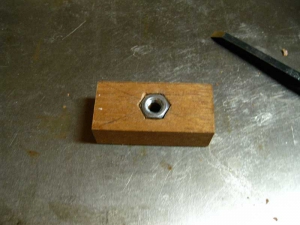
Next, mix up a little epoxy following the directions on the package. Place just enough in the hole to hold the nut in place.
Don't use too much... this stuff is messy and hard to clean up. You'll also probably want to wear latex gloves while your doing this. You don't want to get is on your hands.
If you have any squeeze out, wipe off what you can and wait for the epoxy to dry.
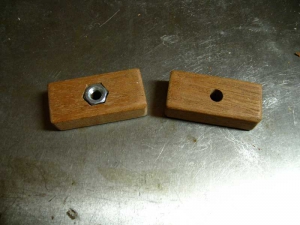
After the epoxy has dried, sand off any remaining squeeze-out and round over the edges.
You can leave it natural, or apply whatever finish you like.
Tie-down Posts
I'm calling these "tie-down posts" for the time being because I can't think of a better name. If you can think of a better name, please leave me a note in the comments...
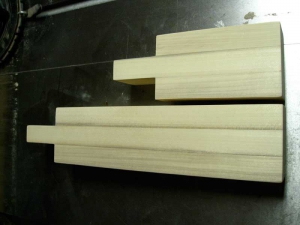
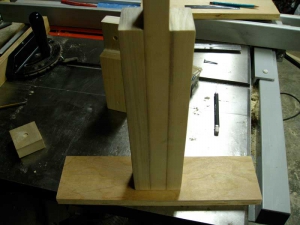
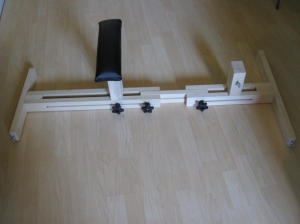
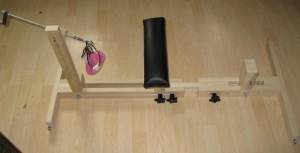
Anyway, there are two posts: a taller padded one that is meant to be a place to rest the torso (placed under the stomach or chest) and a short one that can be used as an attachment point for a collar to hold the sub's head down.
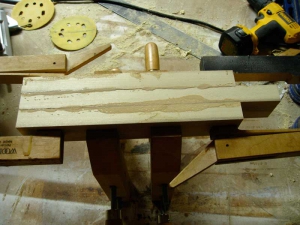
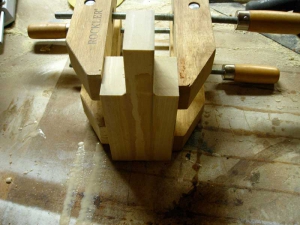
Both of these posts use the same 2-1/2" x 1" poplar that we used on the stock itself.
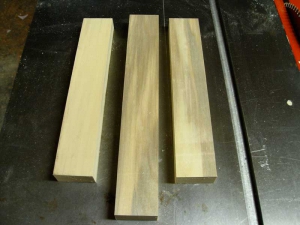
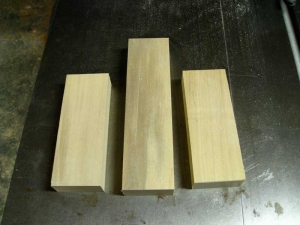
For the stomach post, you'll need
- 2 - 2-1/2" x 1" x 12" poplar
- 1 - 2-1/2" x 1" x 14-1/2" poplar
- 1 - 4" x 3/4" x 12" plywood for the padded rest (not shown)
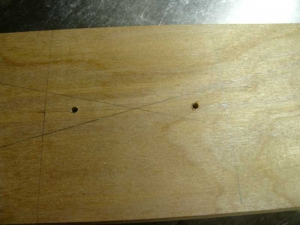
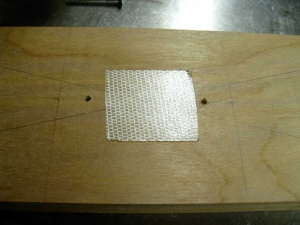
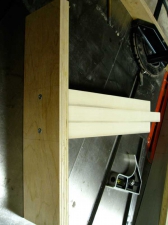
Remove the double-sided tape and use 1-1/2" stainless steel screws to attach the plywood to the post.
Upholstery
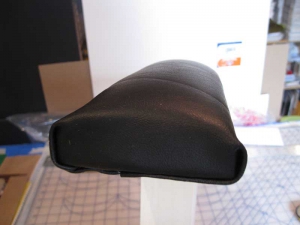
Now it's time to upholster the padded post.
You'll need:
- A piece of vinyl or leather sized approximately 12" x 20"
- Upholstery foam - 3" x 4" x 12"
- Spray adhesive
- A staple gun
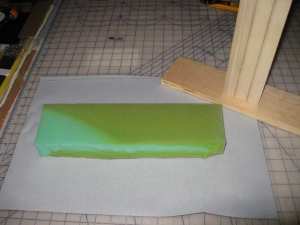
Glue the foam to the block using the spray adhesive. This will make attaching the vinyl much easier.
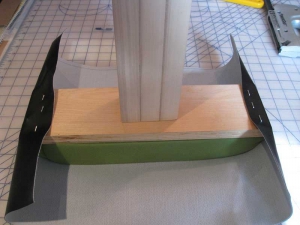
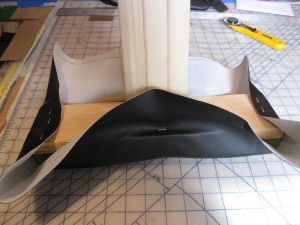
Staple the ends of the vinyl to the plywood.
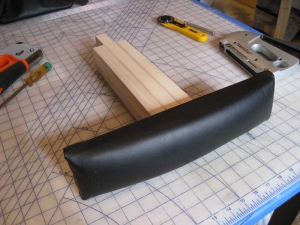
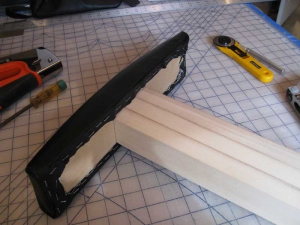
Then add staples to the center of the long ends, pulling everything tight. Tuck in the corners, trim and staple everything in place.
Don't be afraid to remove staples so that you can get the sides and corners tidy. It will take some trial and error to make it look nice.
